
The Essentials: Hand Pies - Bake from Scratch
INTRODUCING THE PRIMER FOR THE ULTIMATE PORTABLE PASTRY: HAND PIES
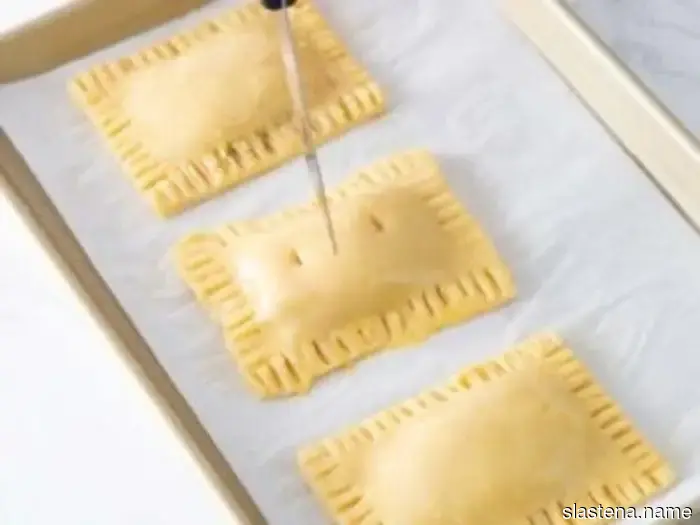
From savory empanadas to pot pies, patties, and pasties, the original hand pies offered a quick and portable meal, satisfying hunger for extended periods. Who could resist a full meal wrapped in edible casing? Whether you’re enjoying potato-and-pea samosas or spinach-and-feta spanakopita, almost every region in history has its version of savory hand pies, making the transition to sweet hand pies a natural progression. While baked sweet pies likely made their way to America with colonists, the first sweet fried pie in the US is noted to be a Southern creation. Dating back to 1770, these pies, which featured slits for venting, contained a popular crab apple filling, earning the nickname “crab lanterns.” With advancements in technology, hand pies began to be produced commercially. In the 1920s, Hubig’s Pies became the go-to pie brand in New Orleans, Louisiana, offering flavors like lemon, apple, and peach, paving the way for future brands such as B&G Pies, Hostess, and Drake’s.
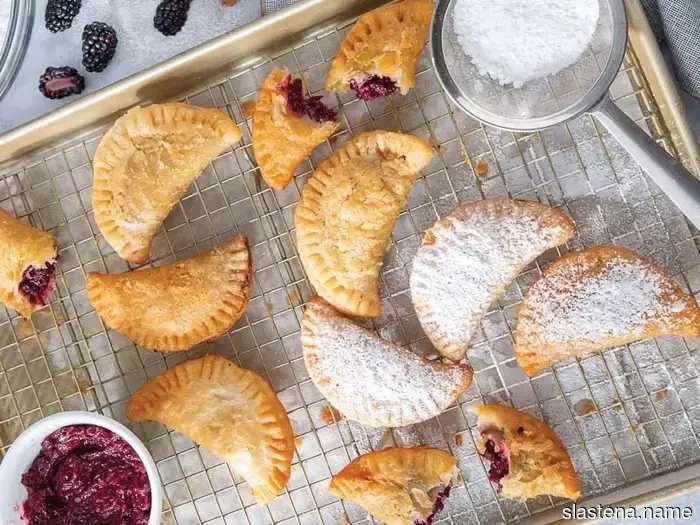
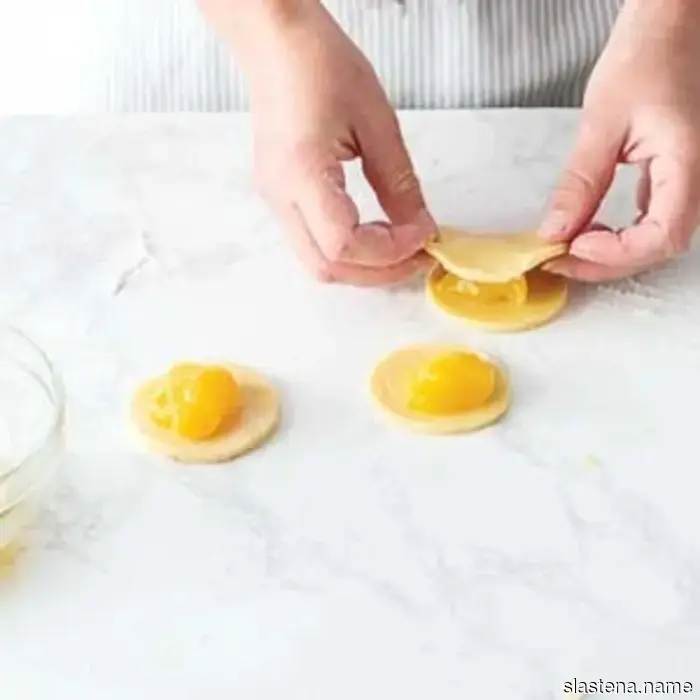
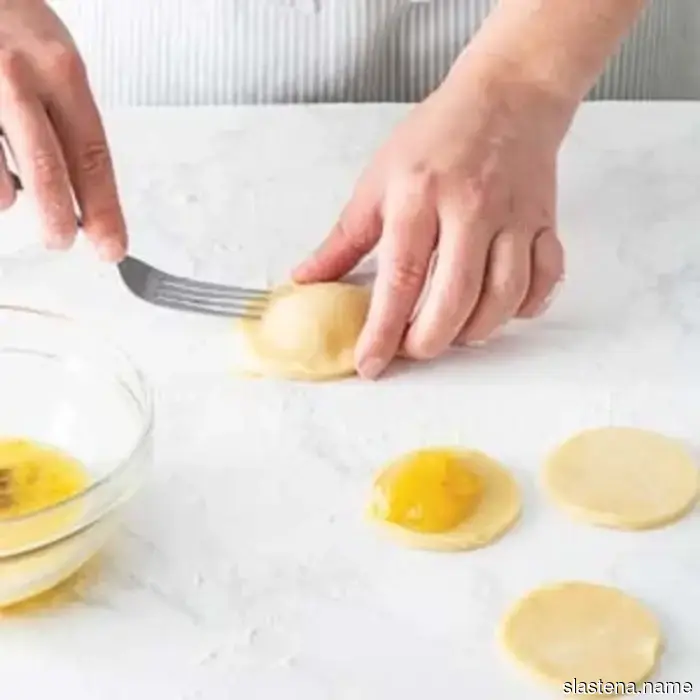
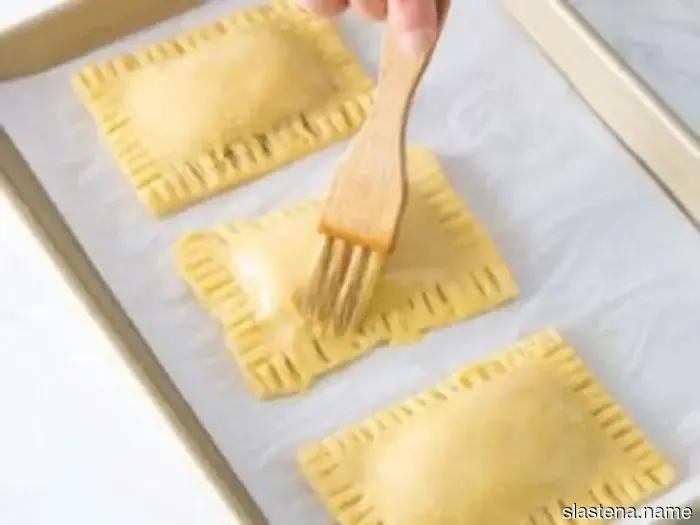
These delightful treats continue to gain popularity across the nation, and for good reason. Regardless of the filling, whether fried or baked, this culturally rich and historically significant pastry is both versatile and easy to prepare once you've learned the basic technique. We’ll guide you through shaping, filling, and cooking these pockets of deliciousness for a sweet, handheld adventure.
Ingredient Review
Here’s how each ingredient contributes to creating the ideal Hand Pie Dough:
FLOUR is the fundamental ingredient, providing carbohydrates and proteins that give structure to the dough. While pastry flour is known for making tender pastries due to its lower protein content, for our recipe, we’ll use a more accessible option. All-purpose flour, with an intermediate protein level of about 10% to 12%, can deliver commendable results with proper care.
FAT is essential for creating flakiness by acting as a barrier between the dough layers. Larger particles of fat increase the flakiness of the crust and also help maintain tenderness by coating the flour proteins. There are several fat options—such as butter, shortening, lard, and oil—all yielding different results. We opted for butter for its flavor, and because its water content aids in creating the flakiest crust. When butter melts during baking or frying, the water turns to steam, puffing up the dough layers.
SALT enhances flavor and helps prevent gluten formation, resulting in a more tender crust. We prefer kosher salt as it’s less dense than regular salt and contains no additives. Remember that not all salts are identical in weight; using a scale for measuring this ingredient will help achieve the perfect salt balance every time.
ICE WATER acts as a binder. When combined with flour, it provides the structure necessary for gluten development and cohesiveness. The correct amount of water is crucial: too much results in a tough crust, while too little leads to a crumbly one. Ice-cold water also keeps the fat solid, contributing to a flakier crust.
VINEGAR is an acid that can inhibit gluten formation in highly acidic environments. However, the small amount of vinegar in our Hand Pie Dough isn’t enough to significantly restrict gluten formation. In fact, a mildly acidic solution can even improve gluten structure at a pH of 5 to 6. Beyond its scientific benefits, we appreciate the slight tartness and texture it brings, although it can be swapped out for water if necessary.
Perfecting Hand Pie Dough
We found that using a food processor is not only more effective but also keeps the ingredients colder, resulting in a flakier crust. Here’s how to do it correctly.
Become a Food Processing Pro
1. In the work bowl of a food processor, combine the flour and salt; pulse until mixed. Add the butter, and pulse until the mixture resembles crumbs with pea-sized pieces of butter, about 12 to 15 pulses. The largest bits of butter should be roughly the size of a common pea, while the rest of the mixture should appear mealy, akin to coarse cornmeal or grated Parmesan cheese. Watch closely to avoid over-processing, which could lead to creaming the mixture. Once the mixture is overdone, you won’t be able to restore the ideal butter lumps that create that beloved flaky crust.
2. In a small bowl, mix ½ cup (120 grams) of cold water with vinegar. With the processor running, pour the vinegar mixture into the flour blend in a slow, steady stream until the dough just comes together.
3. The mixture may look crumbly but should hold together when squeezed. This appearance is acceptable; it indicates the hydration level is suitable to limit gluten formation. Flour can absorb liquids differently based on processing and storage conditions. We manage hydration by adding the vinegar mixture only until the dough starts to release

Other articles
 Lemon Curd Hand Pies - Bake from Scratch
Using prepared lemon curd as a filling, these Baked Lemon Curd Hand Pies are easy to assemble.
Lemon Curd Hand Pies - Bake from Scratch
Using prepared lemon curd as a filling, these Baked Lemon Curd Hand Pies are easy to assemble.
 Introducing the 2024 Top Bakers - Bake from Scratch
 Shop the Issue: July/August 2025 - Baking from Scratch
Cookbook Corner ISLAS: A TRIBUTE TO TROPICAL CUISINE FOR LAHAINA, WITH AFFECTION BREAKING BAO QUICK BAKING These quick recipes are simple, fulfilling, and can be prepared, combined, and baked in two hours or fewer.
Shop the Issue: July/August 2025 - Baking from Scratch
Cookbook Corner ISLAS: A TRIBUTE TO TROPICAL CUISINE FOR LAHAINA, WITH AFFECTION BREAKING BAO QUICK BAKING These quick recipes are simple, fulfilling, and can be prepared, combined, and baked in two hours or fewer.
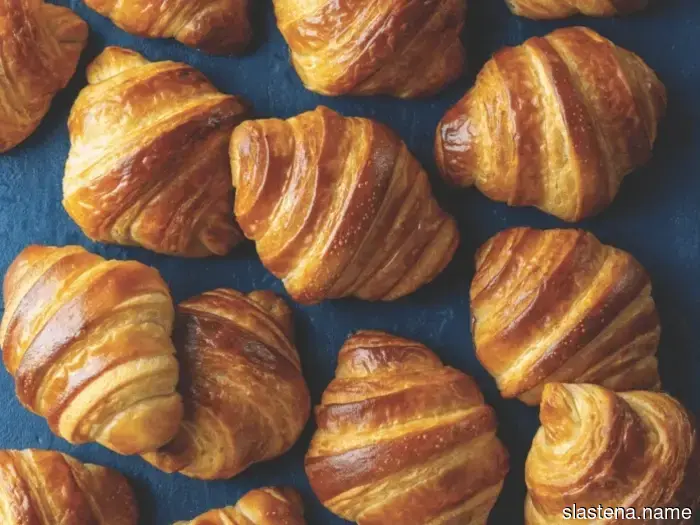 Croissants - Made from Scratch
Recette de croissants par Nicole Plue
Pâte
¾ tasse plus 1 cuillère à soupe (193 grammes) d'eau du robinet fraîche
4¼ cuillères à café (13 grammes) de levure instantanée osmotolérante
4 tasses plus 2½ cuillères à soupe (521 grammes) de farine tout usage
¾ tasse plus 1 cuillère à café (185 grammes) de lait entier froid
¾ tasse plus 1 cuillère à café (98 grammes) de farine à pain
5½ cuillères à soupe (44 grammes) de farine de blé complet
⅓ tasse plus
Croissants - Made from Scratch
Recette de croissants par Nicole Plue
Pâte
¾ tasse plus 1 cuillère à soupe (193 grammes) d'eau du robinet fraîche
4¼ cuillères à café (13 grammes) de levure instantanée osmotolérante
4 tasses plus 2½ cuillères à soupe (521 grammes) de farine tout usage
¾ tasse plus 1 cuillère à café (185 grammes) de lait entier froid
¾ tasse plus 1 cuillère à café (98 grammes) de farine à pain
5½ cuillères à soupe (44 grammes) de farine de blé complet
⅓ tasse plus
 Baked Hand Pies with Strawberry and Chocolate Hazelnut Spread - Bake from Scratch
Made with fresh strawberries and decadent chocolate hazelnut spread, these hand pies are a stylish homemade version of a nostalgic frozen treat from childhood.
Baked Hand Pies with Strawberry and Chocolate Hazelnut Spread - Bake from Scratch
Made with fresh strawberries and decadent chocolate hazelnut spread, these hand pies are a stylish homemade version of a nostalgic frozen treat from childhood.
 The Emergence of Small State Provisions - Bake from Scratch
Starting from a home kitchen and growing into a successful bakery, Kevin Masse's Small State Provisions in Hartford, Connecticut, represents the essence of baking with passion.
The Emergence of Small State Provisions - Bake from Scratch
Starting from a home kitchen and growing into a successful bakery, Kevin Masse's Small State Provisions in Hartford, Connecticut, represents the essence of baking with passion.